
If you read part 1, you know what we’re doing! I’m back, you’re back, let’s do this! You can read part 1 here – if you sent me a question and I didn’t answer it, it’s because I already have written about it!

- How do you make padding to go underneath the noseband and over the neck?
For padding, you need another kind of leather. This is funny, because in Norwegian there are two different kinds of word for this: “lær” and “skinn”. “Lær” is that thick piece of leather we make equipment of. “Skinn” is the thin, floppy leather we make jackets and furniture of. You will need a sturdy piece of that floppy leather. There are many different kinds of floppy leather, I think I have goat for mine. Anyhow, go to your supplier and ask about recommendations for your use. Floppy leather can be dyed with the same products as normal leather, or can be bought pre-coloured.
To make padding, you must find something soft to use as a padding. I have previously used a piece of felted wool (actually sometimes only this, for certain neck pieces), but you can use neoprene straps and pretty much anything squishy here. You need some clamps to keep everything in place – so you wrap your squishy in the floppy, clamp it to the not-floppy, and stitch away!
10/10 for explanation. I know. “Floppy leather” was too good not to use. I’m sure there’s a more proper word for it in your own language.
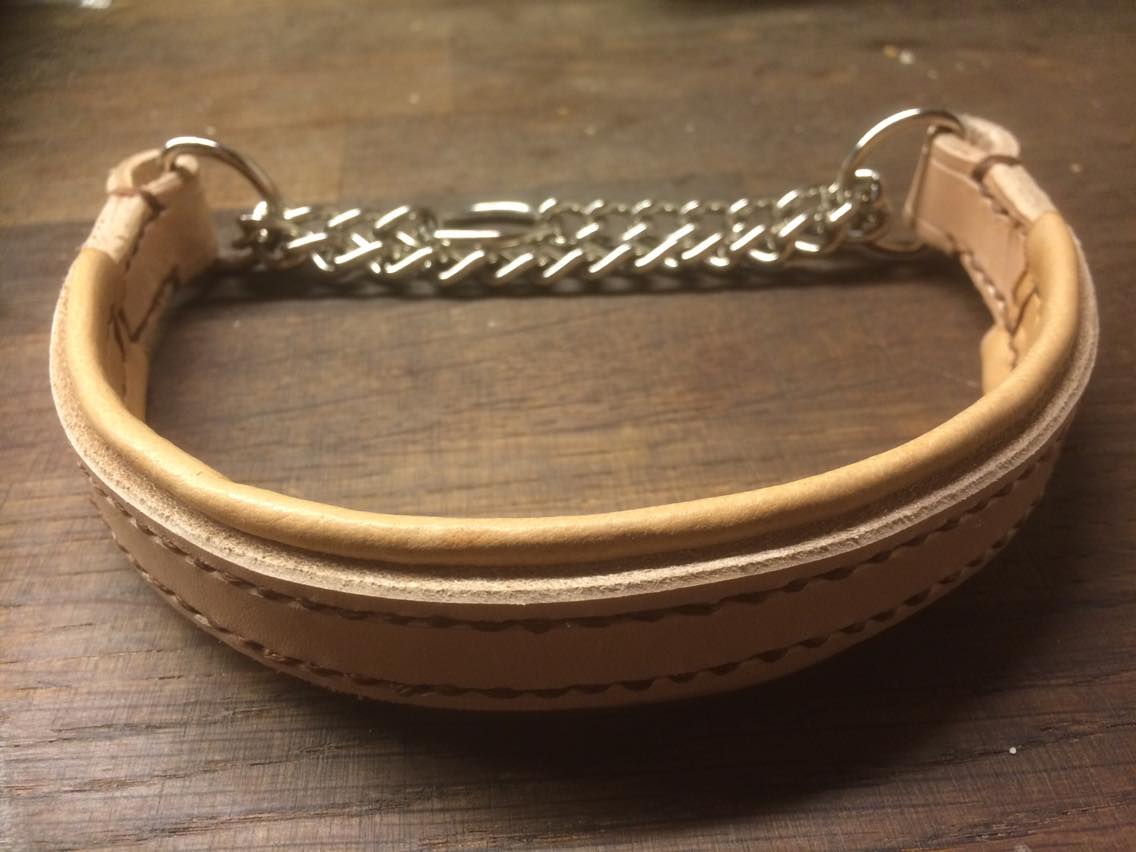
- Where can I find hardware for dog collars/harnesses?
My leather supplier have this in their store – smaller buckles, D-rings, chains to make half-chokers etc. If your supplier doesn’t have this in stock, chances are they can order for you.
- How do you attach ornaments?
It depends on the ornament. A lot of decorative ornaments are actually made for tack, and usually come with a logical way of attaching it. Some goes in with a screw, some you need to hammer in place etc. If you have something that isn’t made for tack, like perhaps a piece of jewellery, you just need to be creative and stitch it on somehow. Bear in mind that ornaments not made for tack, might break very easily.

- Exactly how expensive is it?
I get that it’s a lot of curiosity about the exact costs, so I went to my local suppliers page and pretended to order all the tools I use on a regular basis. Ordering online from other online stores is also a possibility, but importing these kinds of things to Norway can get pretty pricey too. It totalled to about $500 – at least when I chose basic beginner tools. You can get knifes that alone cost $500, which is why it’s hard to state exactly how much you will need to pay. I have bought most of it with a discount – and some things you can probably get secondhand.
That sum is not included dyes, thread, leather or hardware. The pieces of leather I buy are usually about $200-$300 a piece (lasts for 5-10 products, depending if they are Lillen-sized or normal horse sized). You can buy cheap thread, which is more than good enough for beginners – for $15. 100g of thread might even out-last your piece of leather. Good quality thread can cost 10 times more.
Dyes vary in price, all depending on what brand (cheap brands usually do just as well as expensive ones) and how much you want. Hardware can be anything from $1-$2 pr buckle/ring, to $15-$20, here it really depends on material, size and quality. For horse tack, accept that buying good quality is a must. It sucks to spend hundreds on leather and hours to craft, just to have the buckle break because you tried to cut down on costs – it’ll take a lot of time to un-do and re-do all your stitches to change that damn buckle.
- What’s your nr. 1 favorite tool?
I have a pair of pliers that makes it a bliss to prepare the holes for stitching. Instead of poking every hole with an awl or a hammer it with a “fork”, I just zap down the edge of the leather and every single hole gets perfect. It makes for a very pretty seam! This only works on the edges of the leather, though, so having tools and knowledge to use the awl is essential, because if you are sowing further in on the piece of leather, that pair of pliers ain’t gonna manage. The pliers are probably my most expensive tool, but worth its weight in gold (kinda).
- What is the trickiest thing to make, in your opinion?
This son of a fuck:

In English they are called “loops”, in Norwegian smygestol. A smygestol directly translates to “crawling chair”, so there’s your fun fact of the day! Most easily avoided by always making sure to use “double” buckles, so you can tuck the leather strap back into the buckle, instead of having to make any loops. Fuck loops.
- How do you get the dimensions right on each little piece so that the finished tack is the right size?
If you’re crafting for your own horses, just measure the tack you already have. Remember to measure all the parts in-between the buckles, because if I tell you that Brego is 110cm in-between the corner of his mouths (over the neck), you would have no idea where to put the side pieces or where to end the neck piece. I do have this standardized form I can use if anyone wants to order i.e. a bridle size pony – I don’t know where it’s from and the measurements are just basic, but it’s nice to have.

- Once you have all the tools, will it be cheaper to make a piece of tack yourself, than to just buy it from a random store?
No. No, it won’t be. Especially not if you use high quality leather for your own tack, and buy tack from rather cheap stores.
The more modern design you want, the harder it is to make, and the more techniques you will need to learn.
- “Things I wish I knew before I started working on leather”
Well, that’s quite the question! I didn’t know a whole lot before I got into it, and my introduction to the craft was through a beginners course – so I basically learned “everything” through a professional – and that was a very nice experience.
However, one thing that’s worth mentioning – you need all. the. tools. to be able to work with leather. Leather isn’t easy to shape without tools and (a little bit) of brute force, and unless you have all. the. tools. it isn’t going to be easy to find motivation to work.
Another thing I forgot when I got into this, is that it’s a hard craft. You need a sturdy son of a bitch work bench/ table.
- What kind of glue do you use to stick leather to leather/fabric?
I don’t use any glue, actually. I do rarely find the need for things to stick together like that, but I might use some clamps if I’m working to pad something, i.e., to keep the pieces from flopping around all over the place.
- How do you know if your finished product is strong enough? And how do you know if the leather you work with is strong enough?
Well, you can always try to hang the halter on something sturdy and put your entire body weight into it. In general, if you use the correct thickness of leather, the right hardware and stitch it the right way (never “across” the length), you’ll be pretty safe. At least 3 (or 3,5) mm thickness for single layer, anything less and you’ll have to double stitch. If you’re afraid it’s going to break, you can always reinforce all corners with nylon.
The more high-risk animal you are making tack for, the safer you need your tack. A stallion halter is super heavy-duty. Draft halters are heavy-duty. Not all tack needs or should be heavy-duty.
When you’re at the store to buy leather and hardware, tell the staff what you’re going to use it for and they’ll help you find the correct stuff. So far I haven’t had any of my own tack break on me, but a lot of store bough tack have, the main difference in quality has this far been the buckles, actually. I have rarely experienced leather to break, it’s “always” poor quality buckles or seam sown on machine.
- Does it damage your hands/fingers?
It’s going to hurt in the beginning, because it is indeed pretty hard on your hands. However, the more you do it (as long as you don’t over-do it, and take breaks when you need to), the stronger your muscles and tendons will get, and the thicker the skin on your thumbs will get.
That being said, not everyone has a body to handle everything. So far, I haven’t had a lot of issues, and as long as you have enough tools, you won’t hurt yourself all that much. Unless you drop a scalpel and catch it on the sharp end. Been there, done that. It hurts.
- Where do you buy your supplies?
The heavier the supply, the more local you want it. An entire piece of leather is actually pretty heavy, and shipping costs would be insane if you were to buy from another end of your country, or even from another country. I buy my leather and most of my tools from Skinnlåven, a fairly local store for me.
Buckles, ornaments and other stuff that Skinnlåven doesn’t have, I order online from all over the world. Just google around and you’ll find stuff 🙂

I hope I was able to answer your questions! And again, if you did send me a Q and you didn’t find you A, it’s because I most likely already answered it in round one! Link here! Beware, it’s a rant and a half in there as well 😛
If more questions come pouring in, I will of course do a part 3. Please remember I am still a newbie in this – I am still learning by doing at the moment.
Emma

Leave a comment